If you are interested in this project, or you have any trouble with downloading/installing the tool, please concact Manuel Ohrndorf.
Read the Quick Introduction for a step-by-step installation and tutorial or start directly by downloading ReVision and the example project.
- Download and Installation
- Example Project
- Quick Introduction
- Step 1: Installation
- Step 2: Setting up the Example Project
- Step 3: Repairing inconsistencies with ReVision
Download and Installation
- Download Eclipse Platform: Eclipse 2022-09 Modeling Tools
(includes the Eclipse Modeling Framework): - The newest version of ReVision can be obtained from the following update site:
- https://repairvision.github.io/updatesite/releases/latest
Note: ReVision provides an all-in-one update including the following update sites:
- Papyrus: https://download.eclipse.org/modeling/mdt/papyrus/updates/releases/2022-06
- GMF Tooling: http://download.eclipse.org/modeling/gmp/gmf-tooling/updates/releases-3.2.1/
- OCL: http://download.eclipse.org/modeling/mdt/ocl/updates/releases/latest
- SVNKit: http://eclipse.svnkit.com/1.10.x
Example Project
- Import Video on Demand System (UML) project from the following repository. The repository can be imported to Eclipse by Git or SVN:
- https://github.com/mohrndorf/revision-example.git
- Proceed with the steps below starting with step 3 to test ReVision.
Quick Introduction
In this Section, we illustrate the essential steps to install and work with ReVision. First, we show the installation of ReVision. Second, we setting up a running example. At the end, we show how to find and repair inconsistencies in the running example by using ReVision.
Step 1: Installation
Step 1.1: Downlaod Eclipse
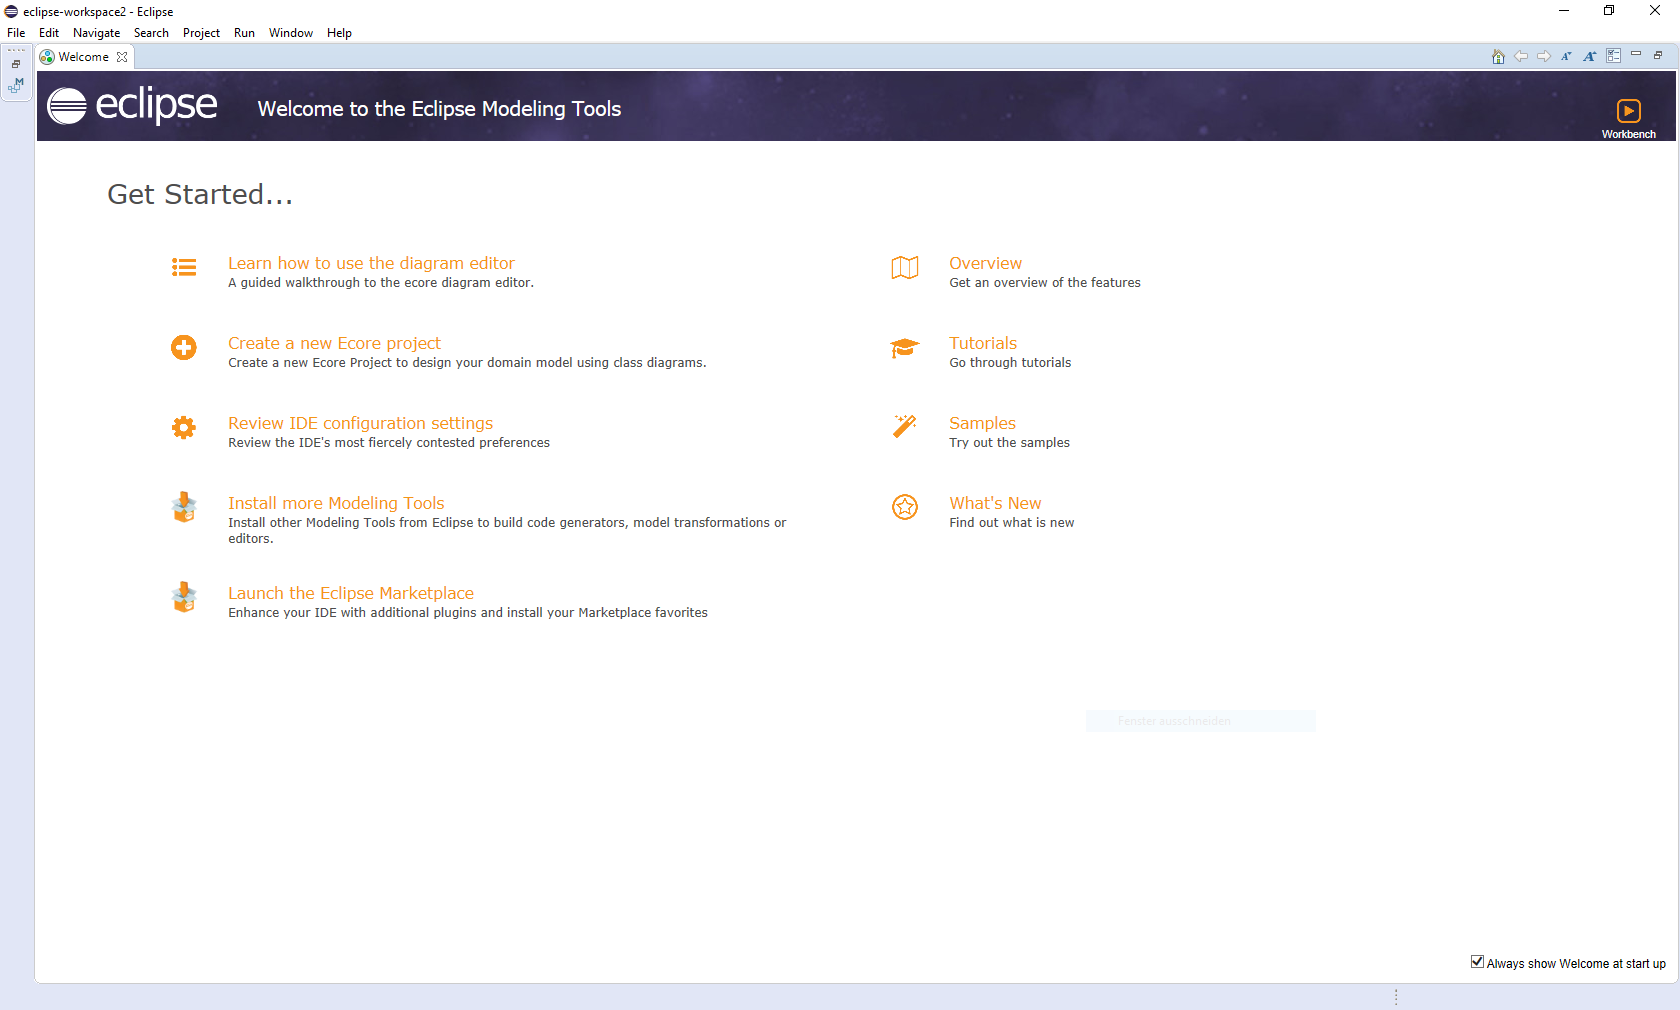
To begin with, first download and open the Eclipse IDE (Modeling Tools).
Step 1.2: Install the ReVision Plug-in
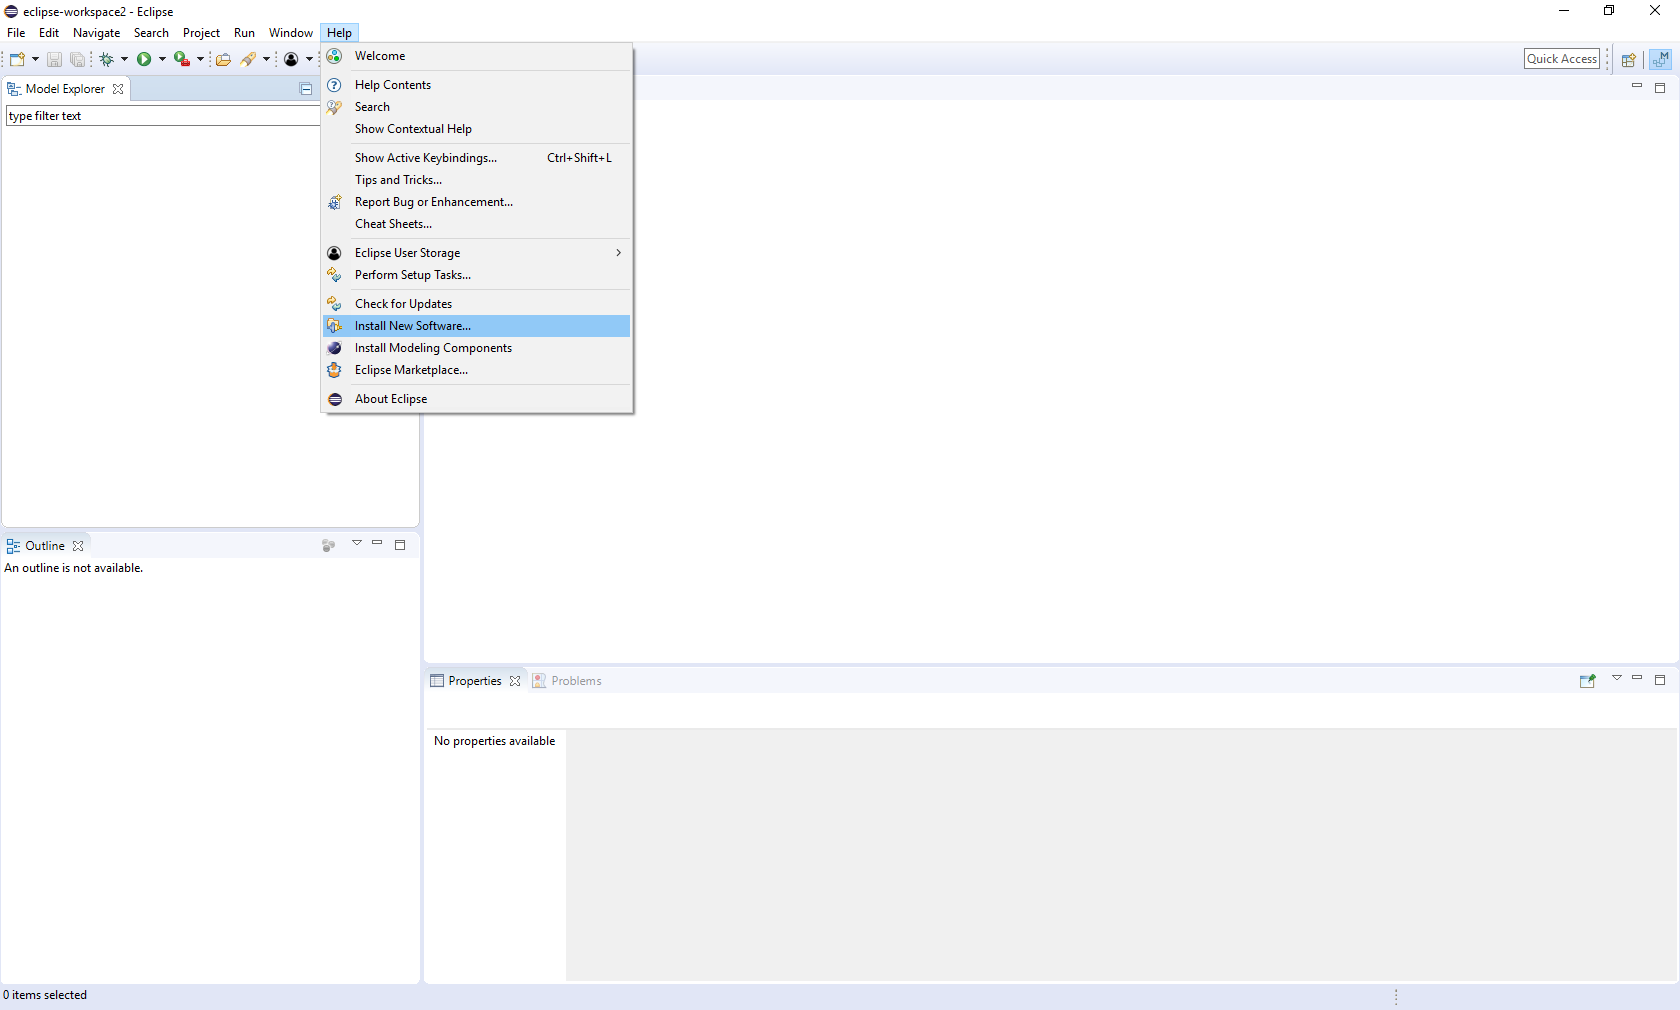
Now you should install ReVision from the Eclipse Install Manager. Go to ‘Help -> Install New Software…’ and insert the URLs of the update sites and follow the installation process for required tools and ReVision. To do so, click on Help and select Install New Software from the Options Menu. See Figure 2 below.
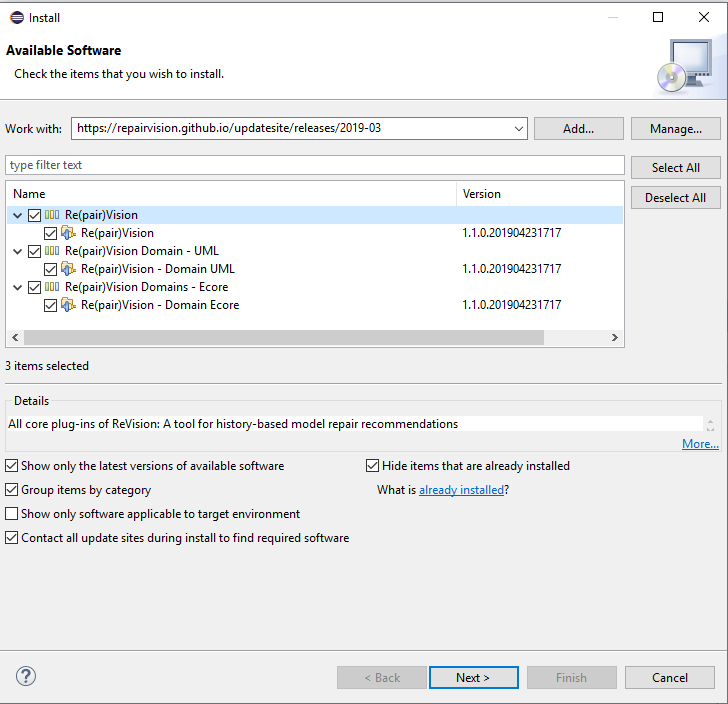
Afterward, you can proceed with the installation of the ReVision selecting the the plug-ins from the update site (https://repairvision.github.io/updatesite/releases/latest). See Figure 3 below.
Note: ReVision provides an all-in-one update including SVNKit (for repository integration) and Papyrus (for UML modeling) from the following update sites:
- http://eclipse.svnkit.com/1.10.x
- https://download.eclipse.org/modeling/mdt/papyrus/updates/releases/2022-06
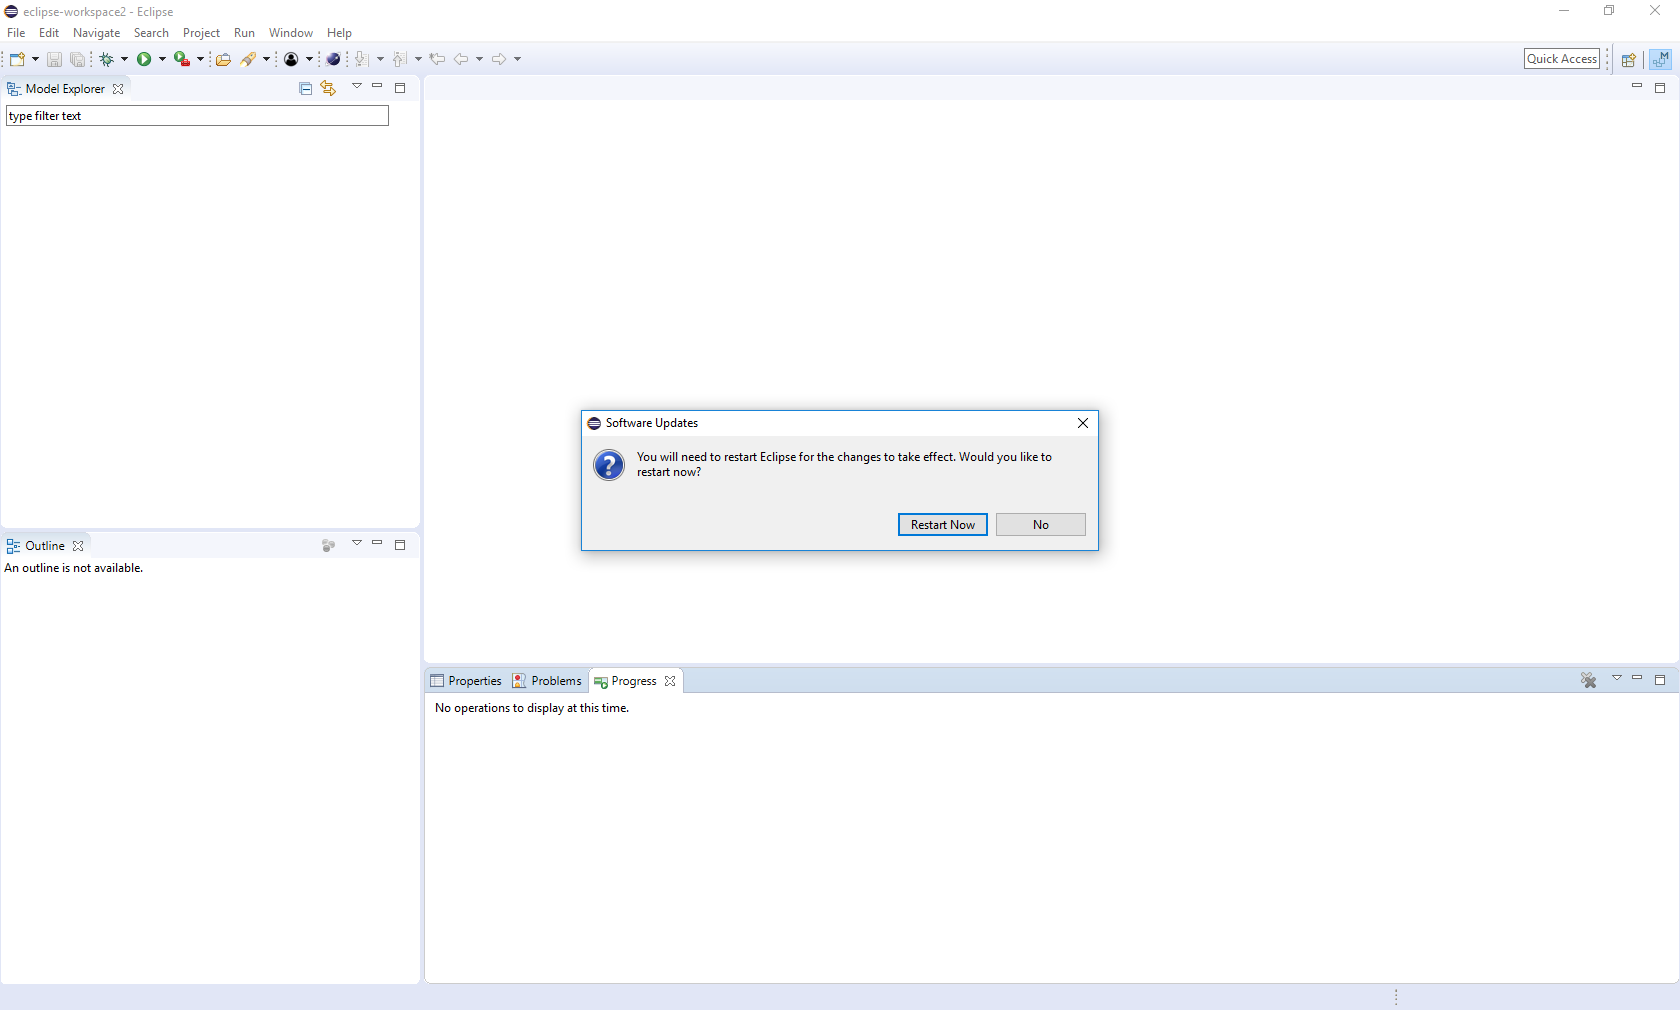
After finishing the installations, you’re supposed to restart the Eclipse IDE to add the Tool to the IDE.
Step 2: Setting up the Example Project
In the following, we will add the repository of our Video-on-Demand example model using Git. (Alternatively, you can follow the SVN introductions.)
Step 2.1: Adding the Example Repository
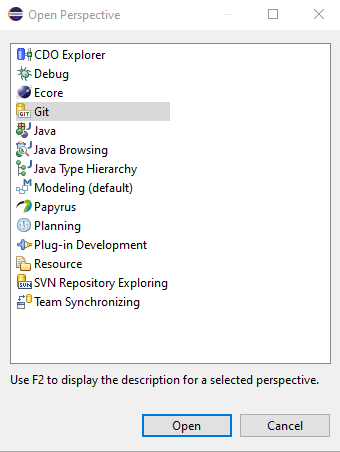
Click on ‘Perspective -> Open Perspective -> Other’ from the ‘Window’ menu and select ‘Git’ (see Figure 5).
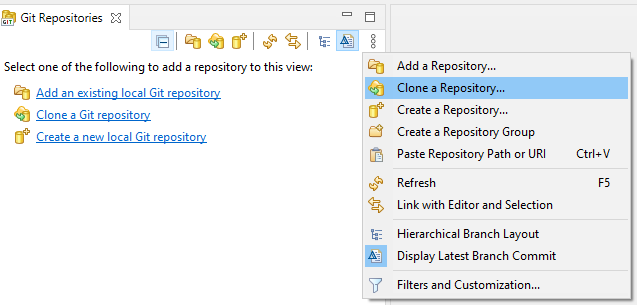
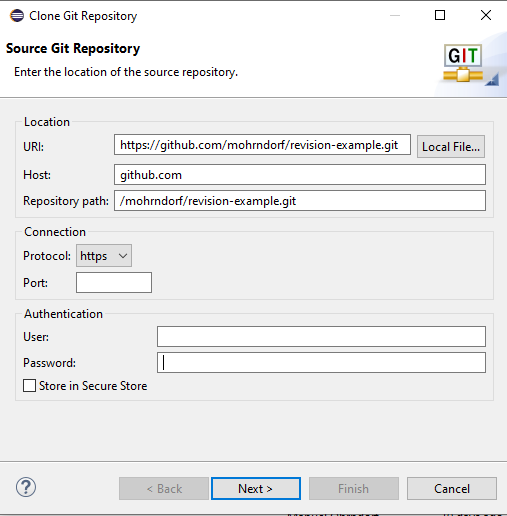
In this step, you will add the example repository. Therefore, first copy the repository URL (https://github.com/mohrndorf/revision-example.git) and then select ‘Clone a Git Repositry’ from the Git view (see Figure 6). Follow the wizard dialog shown in Figure 7 and click on ‘Finish’.
Step 2.2: Importing the Example Project
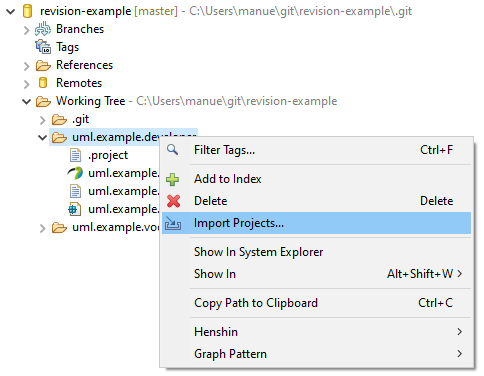
Now, it’s time to import the example from the repository. To do so, right click on the project folder and select ‘Import Projects’ from context menu (see Figure 8). Follow the import wizard and click ‘Finish’.
Step 3: Repairing inconsistencies with ReVision
Now switch back to the ‘Modeling’ perspective to see the imported project.
Step 3.1: Opening the Model Editor
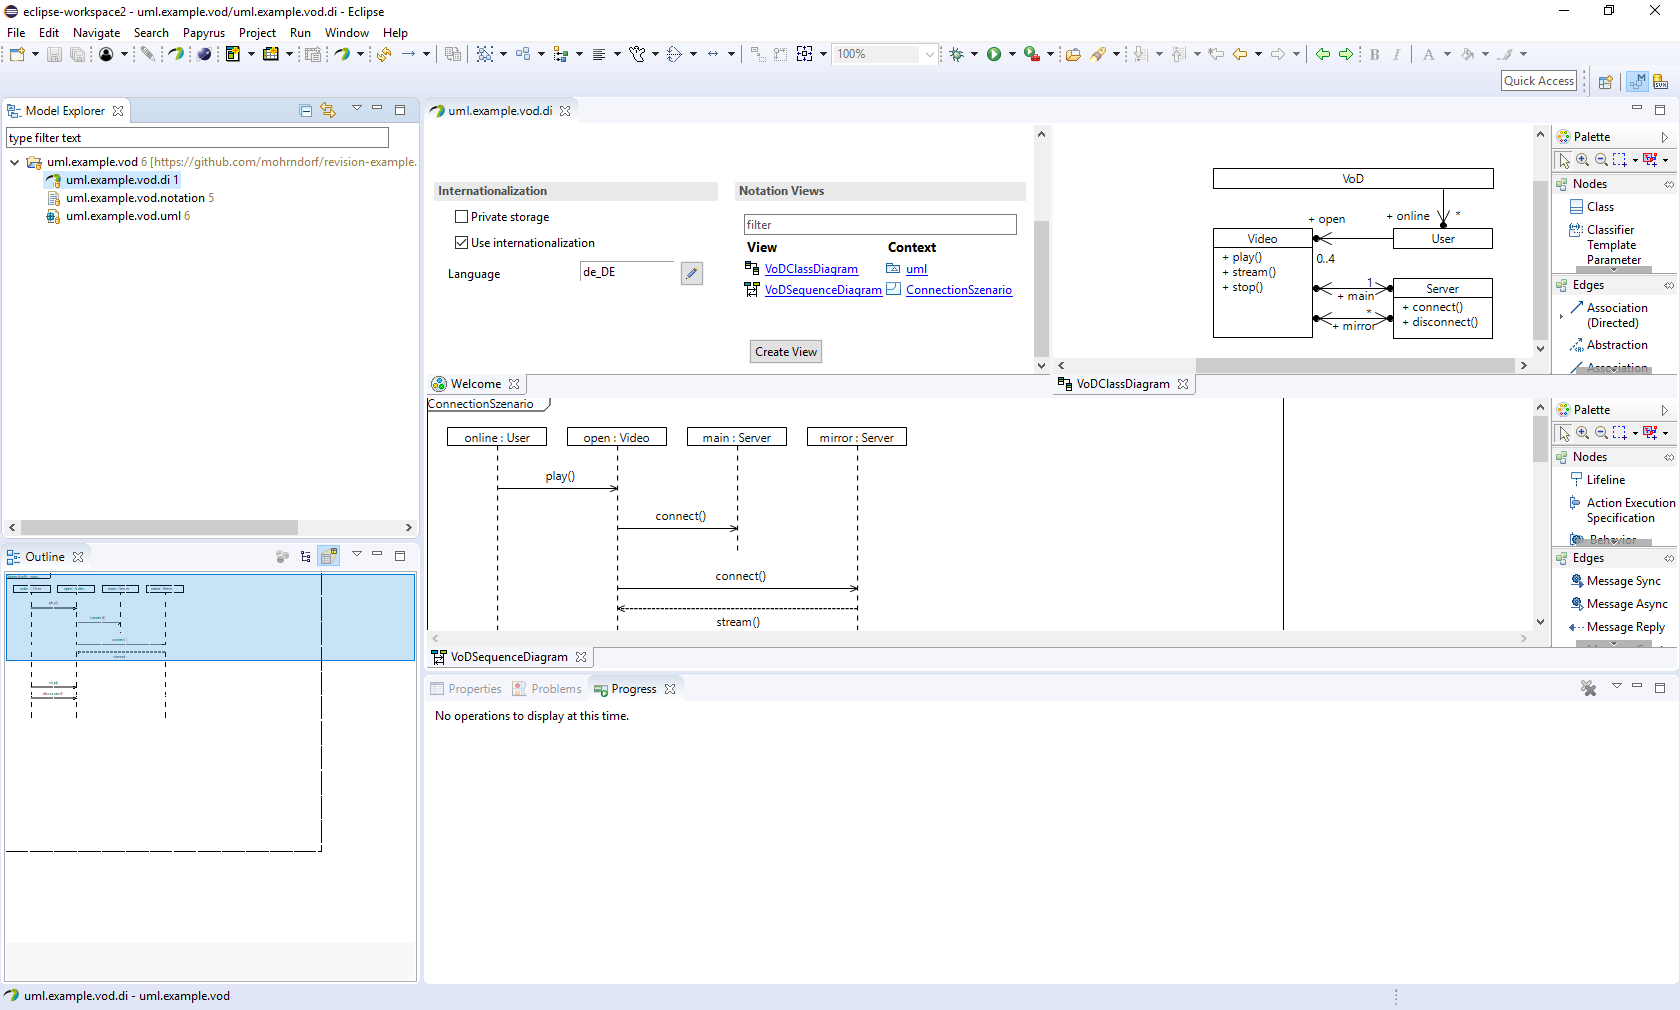
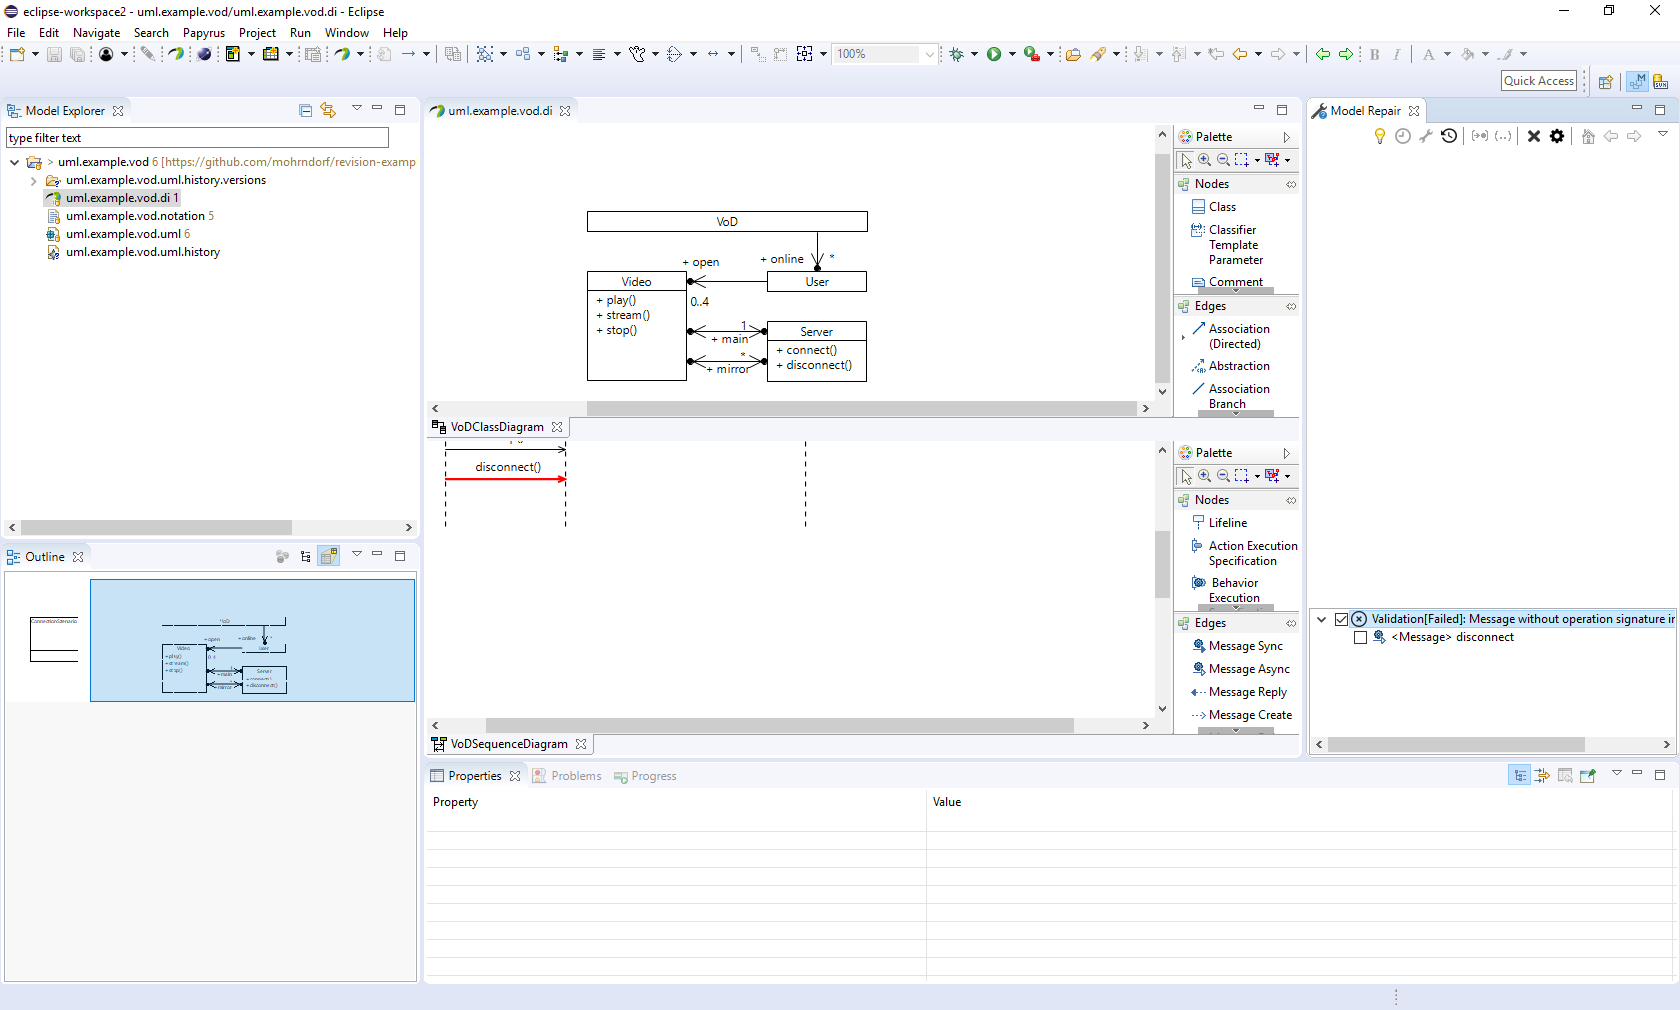
Figure 9 shows the UML class and sequence diagram of the video-on-demand example’ after opening the ‘uml.example.vod.di’ in papyrus.
Step 3.2: Adding the ReVision View
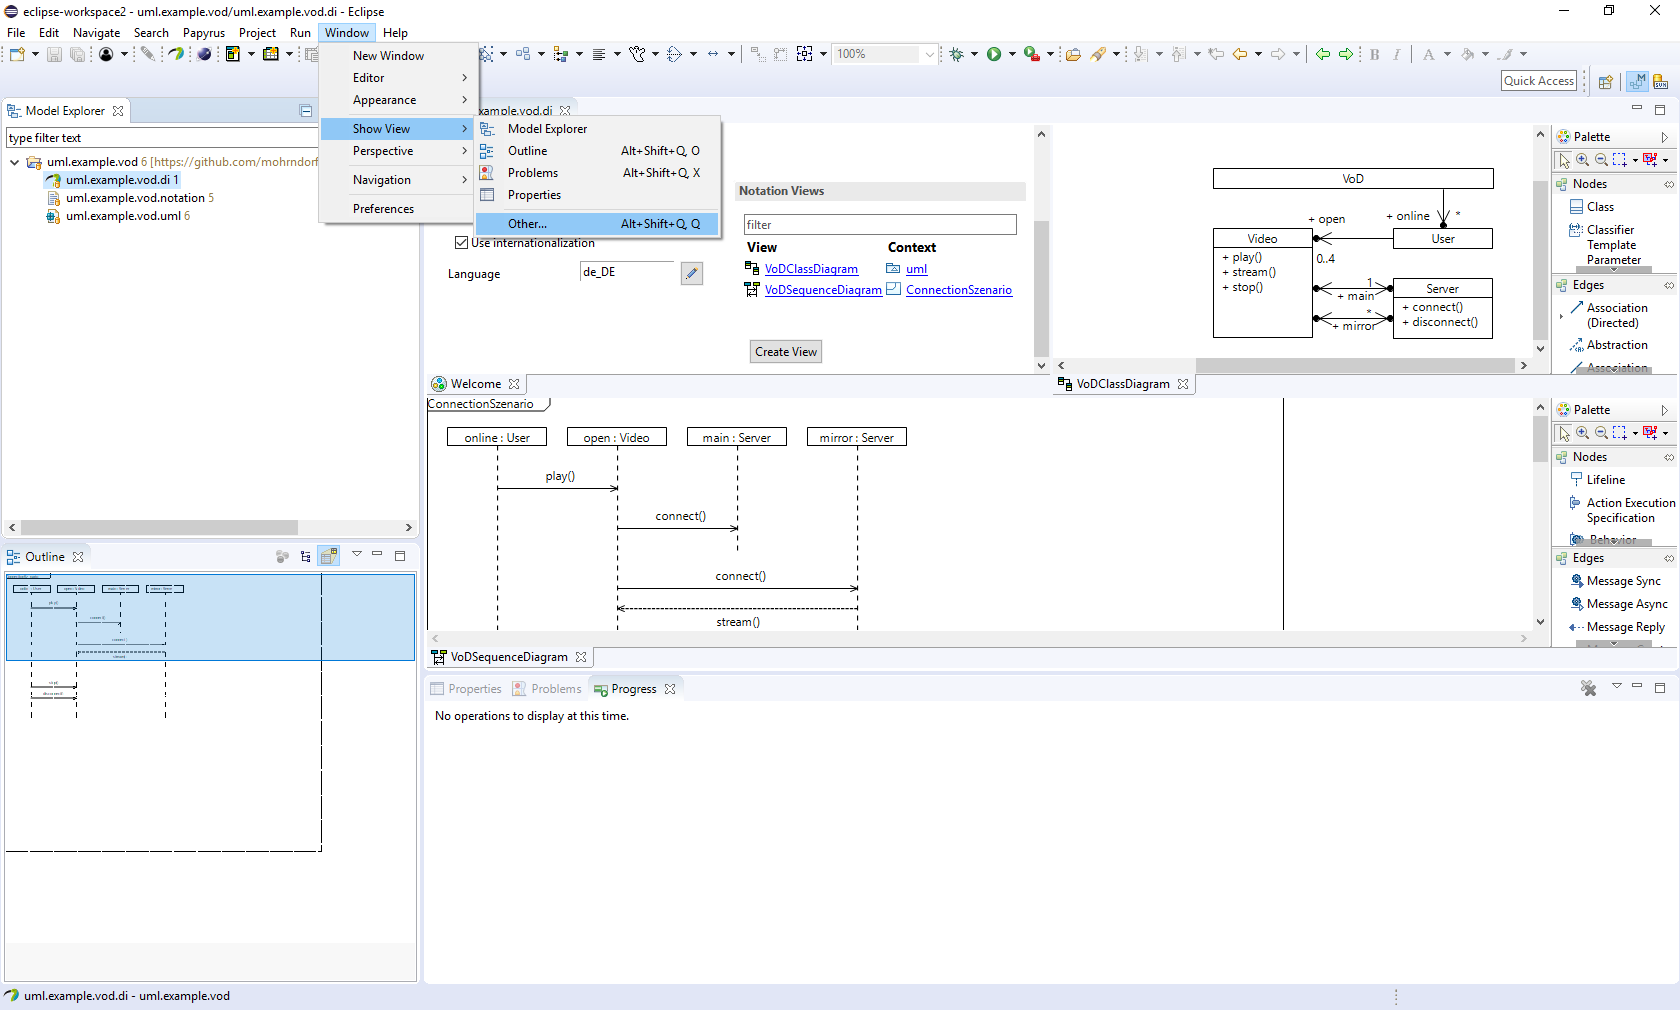
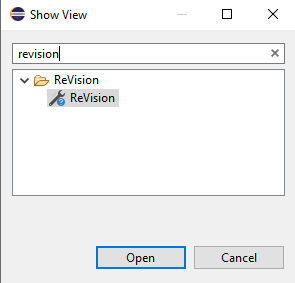
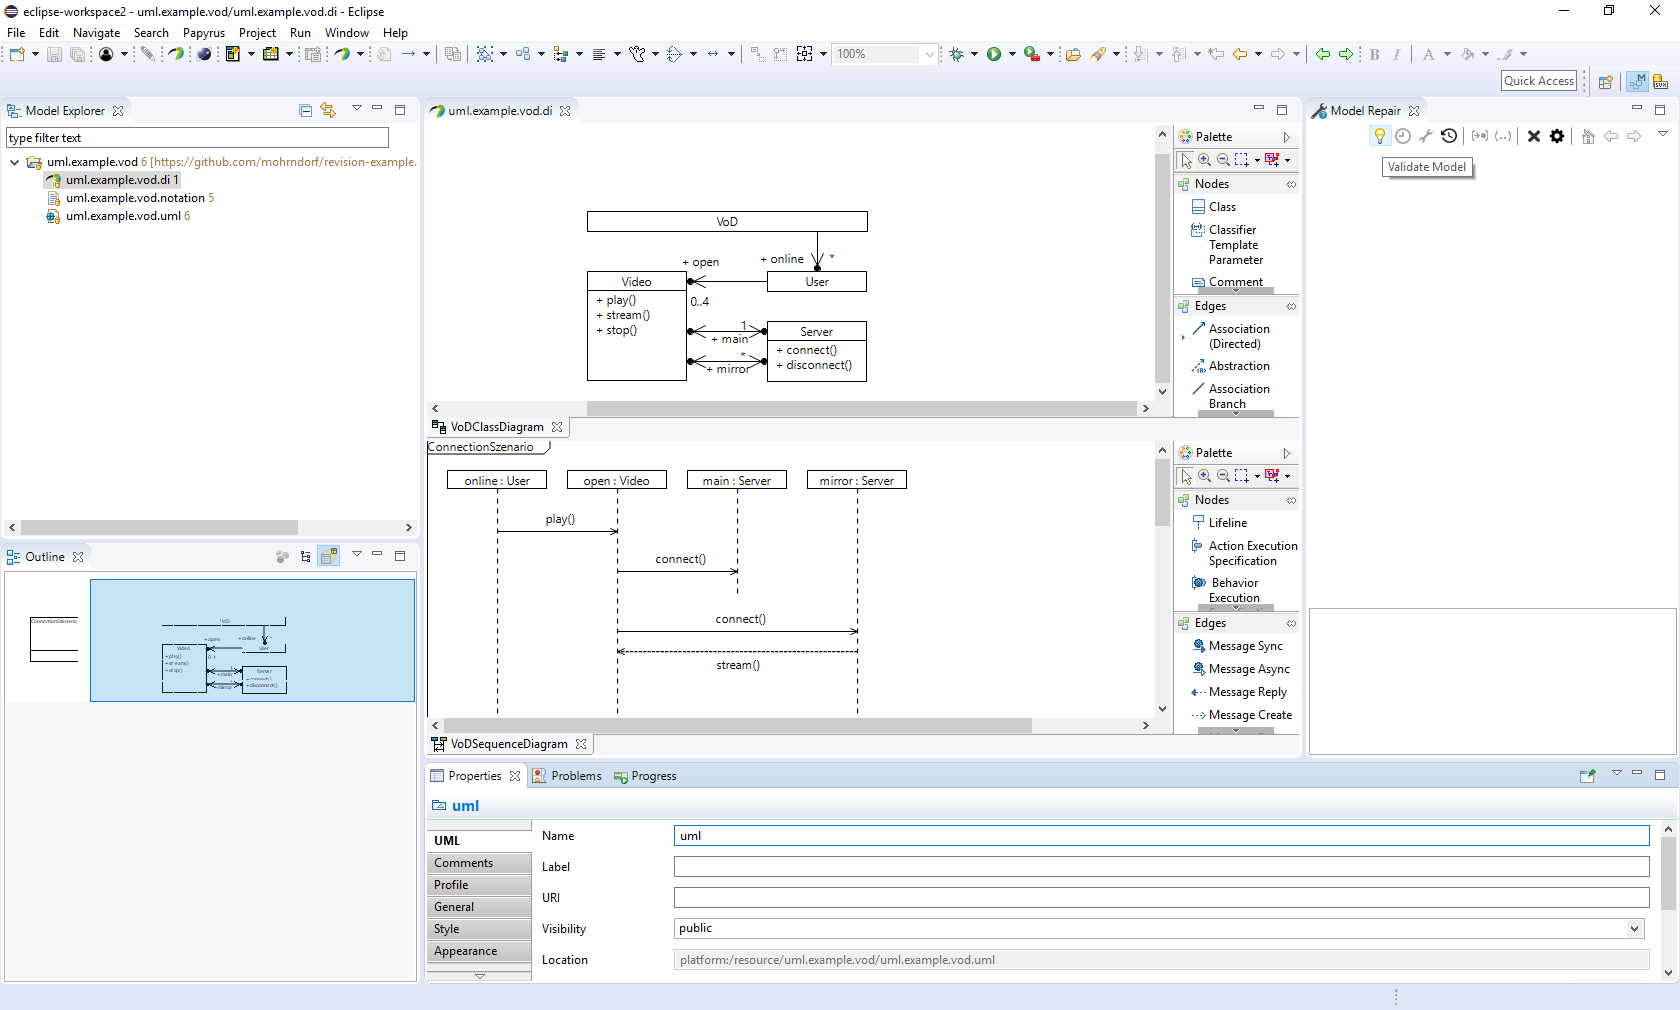
As shown in Figure 12 ReVision is placed in an additional view next to the model editor. To open the view, go to ‘Show View’, then ‘Others’ (see Figure 10) and search for ‘revision’ (see Figure 11). Finally, select and open the ‘ReVision’ view.
Step 3.3: Validating and Searching for Repairs
In this step, we will validate the video-on-demand example model. In the view of ReVision (on right side in Figure 13) click the bulb icon (in the toolbar) to start the validation of the currently opened model editor. After the validation is finished the recognized inconsistencies are shown in a list at the bottom of the view. Select the checkbox next to the inconsistency to start the repair calculation process. (This may take a few second the first time as ReVision will download and analyze the model history to provide an index of all past inconsistencies.)
Step 3.4: Resolving Inconsistencies
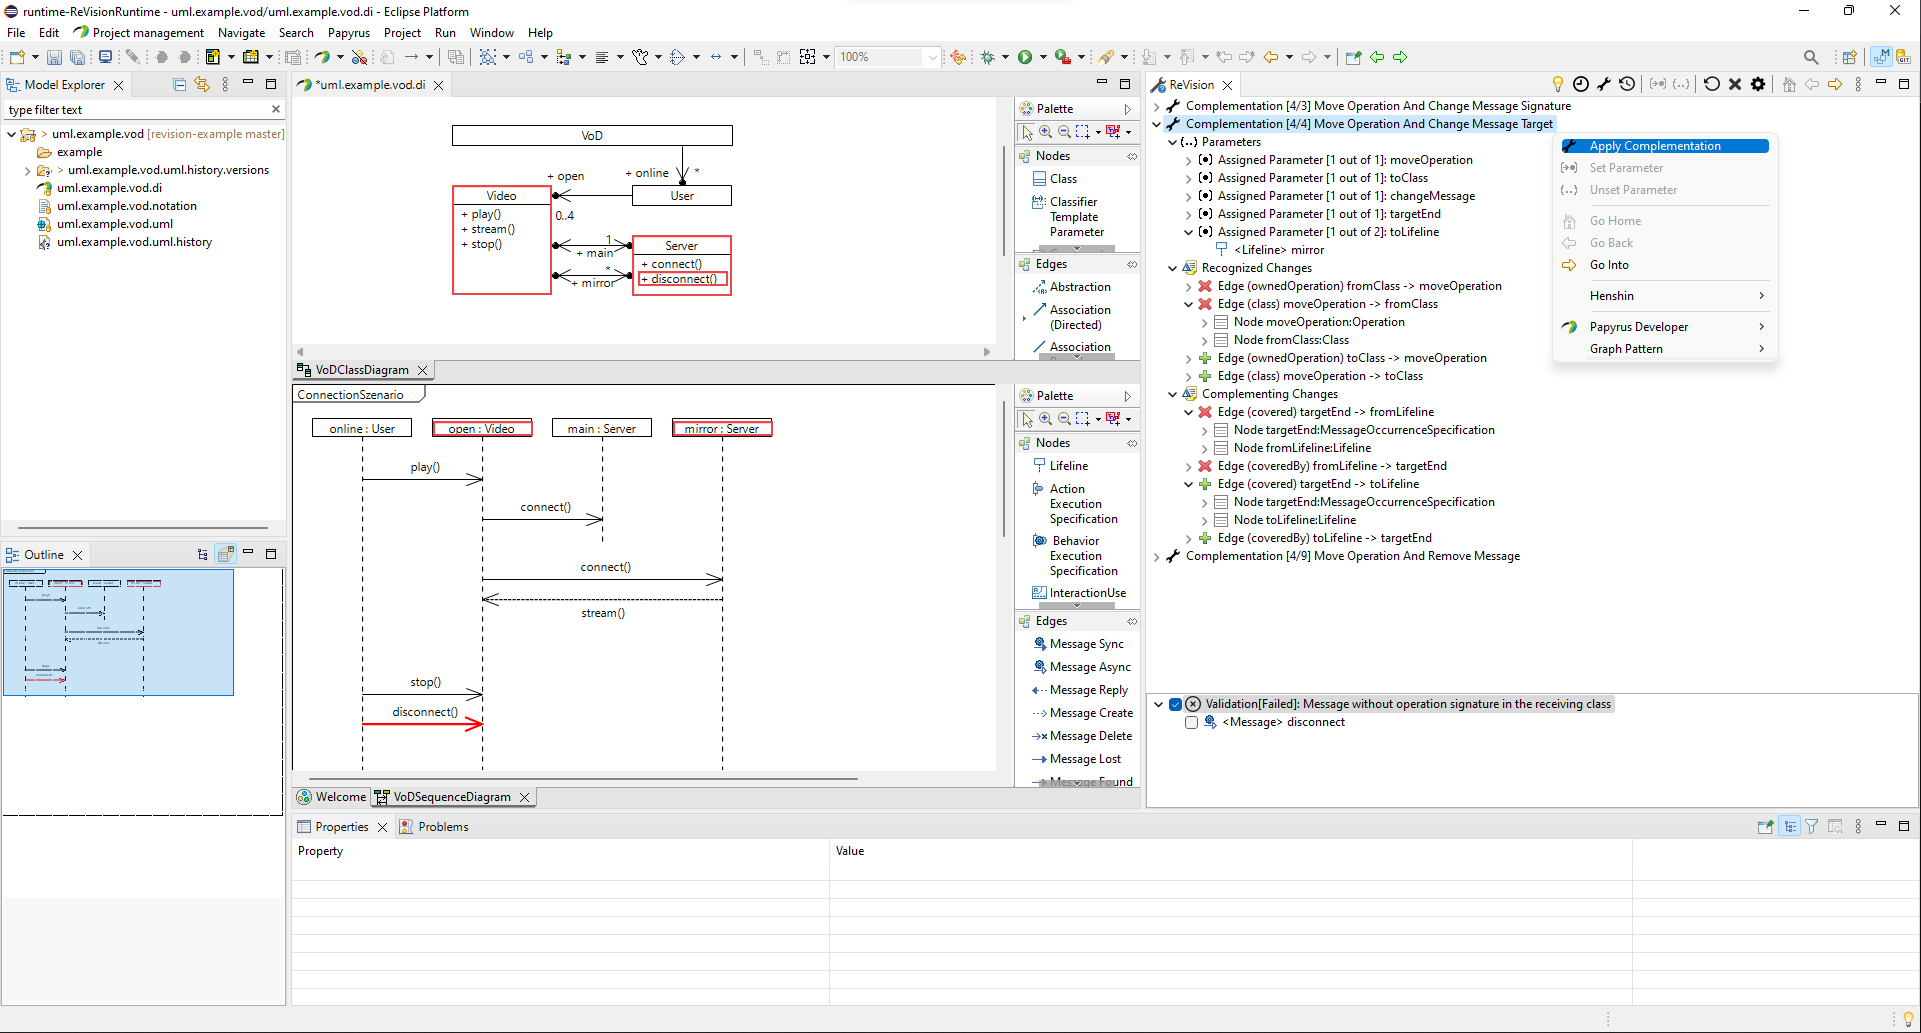
Figure 14 shows the the ranked list of repairs that were generated by ReVision. Each repair contains 3 sets of information:
- Parameters: Some of the repairs have parameters that need to be supplied with additional arguments. For example, go to the parameter ‘toLifeline’ of the repair ‘Move Operation And Change Message Target’. Select the argument ‘
mirror' and then select 'Set Parameter' form the context menu or from the toolbar. - Recognized Changes: ReVision recognized these changes as origin of the defect of the inconsistency. Those changes were extracted from the version history of the model.
- Complementing Changes: The changes that are proposed by ReVision to repair the selected inconsistency. The set of both change (Recognized and Complementing) refer to the consistency-preserving edit operation ‘Move Operation And Change Message Target’.
You can select the change sets or parameters and ReVision will highlight them in model editor (see Figure 15).

Finally, you can apply the repair for resolving the inconsistency and soon after checking the results (see Figure 15).
Note: Sometimes it’s necessary to correct the layout of messages in the Papyrus sequence diagram after applying changes.
After applying a repair, ReVision automatically checks for new or remaining inconsistencies. In our repair scenario we have introduced a new inconsistency ‘A message can only be send between lifelines which are connected by an association’ (see Figure 16). In this case, there is no association between class User and Server, i.e., the objects online:User and mirror:Server cannot (directly) communicate with each other.
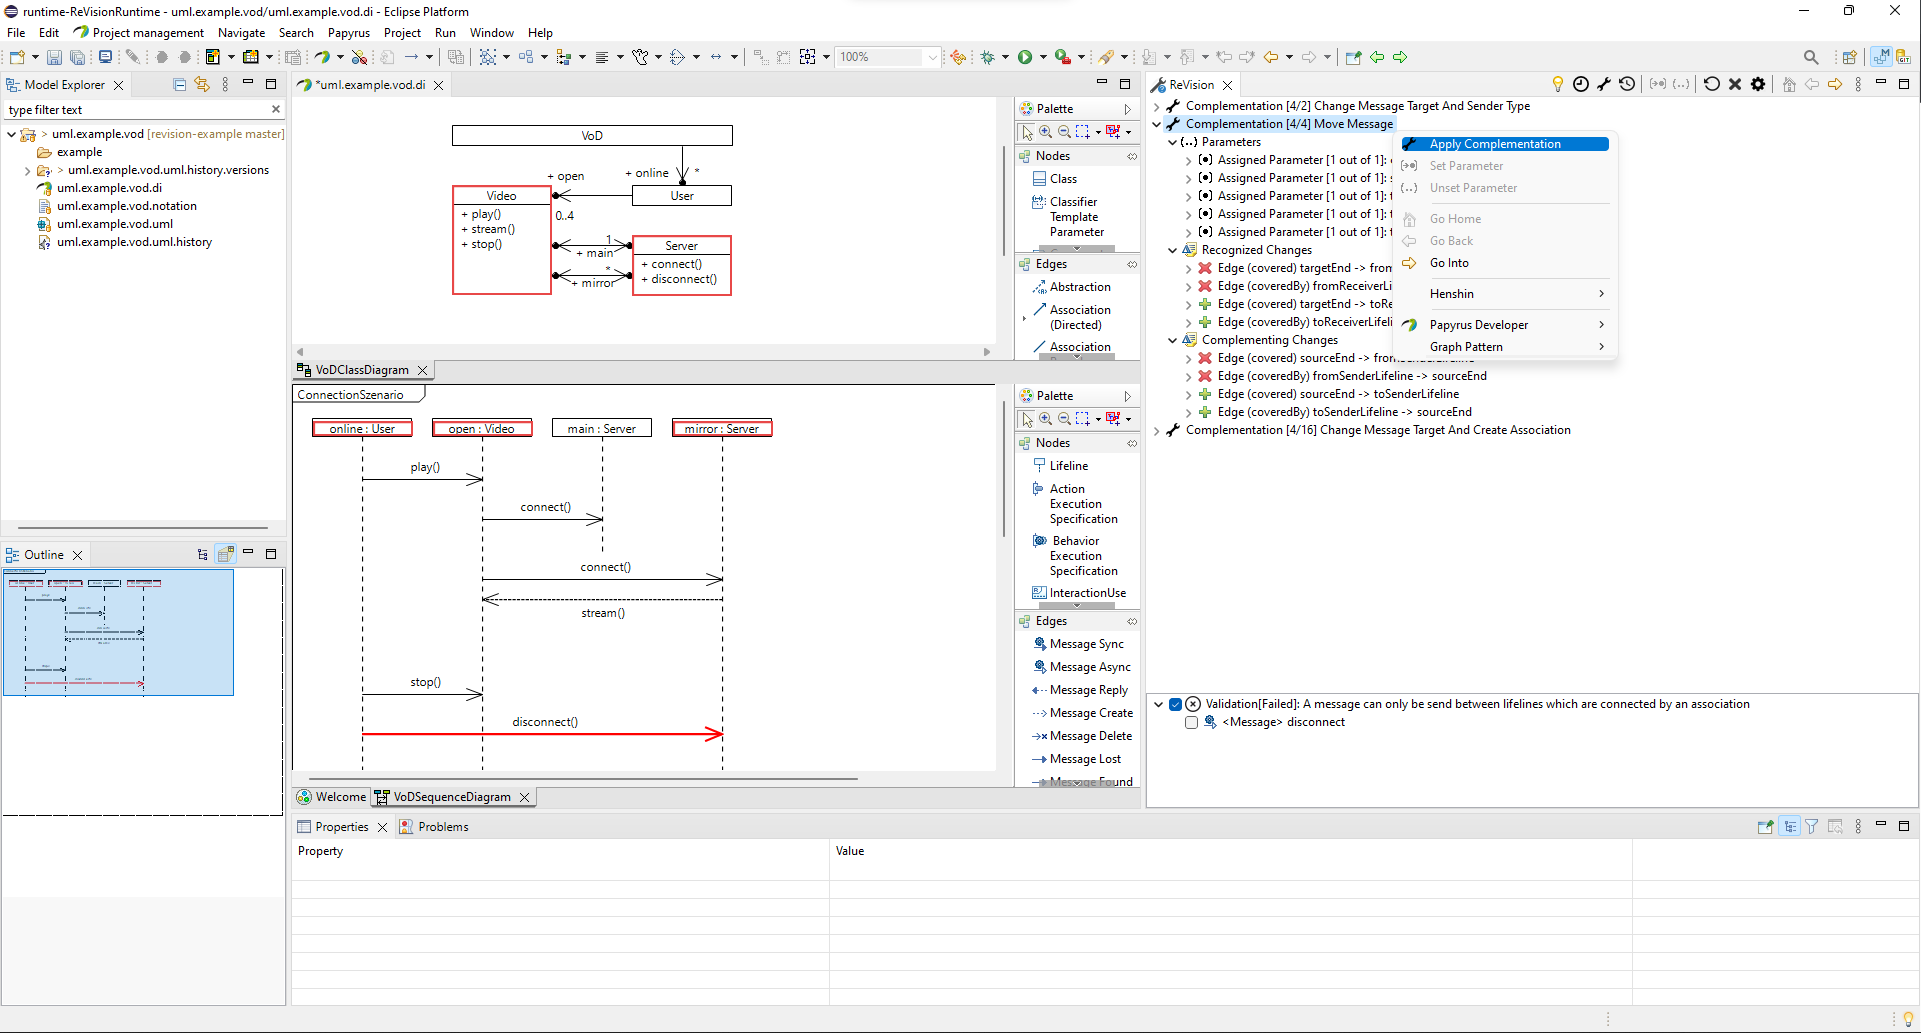
This inconsistency can be incrementally repaired by applying the complementation of ‘Move Message’. This repair additionally changes the sender of the message disconnect from the lifeline online:User to the mirror:Server.
Note: Sometimes it’s necessary to correct the layout of messages in the Papyrus sequence diagram after applying changes.
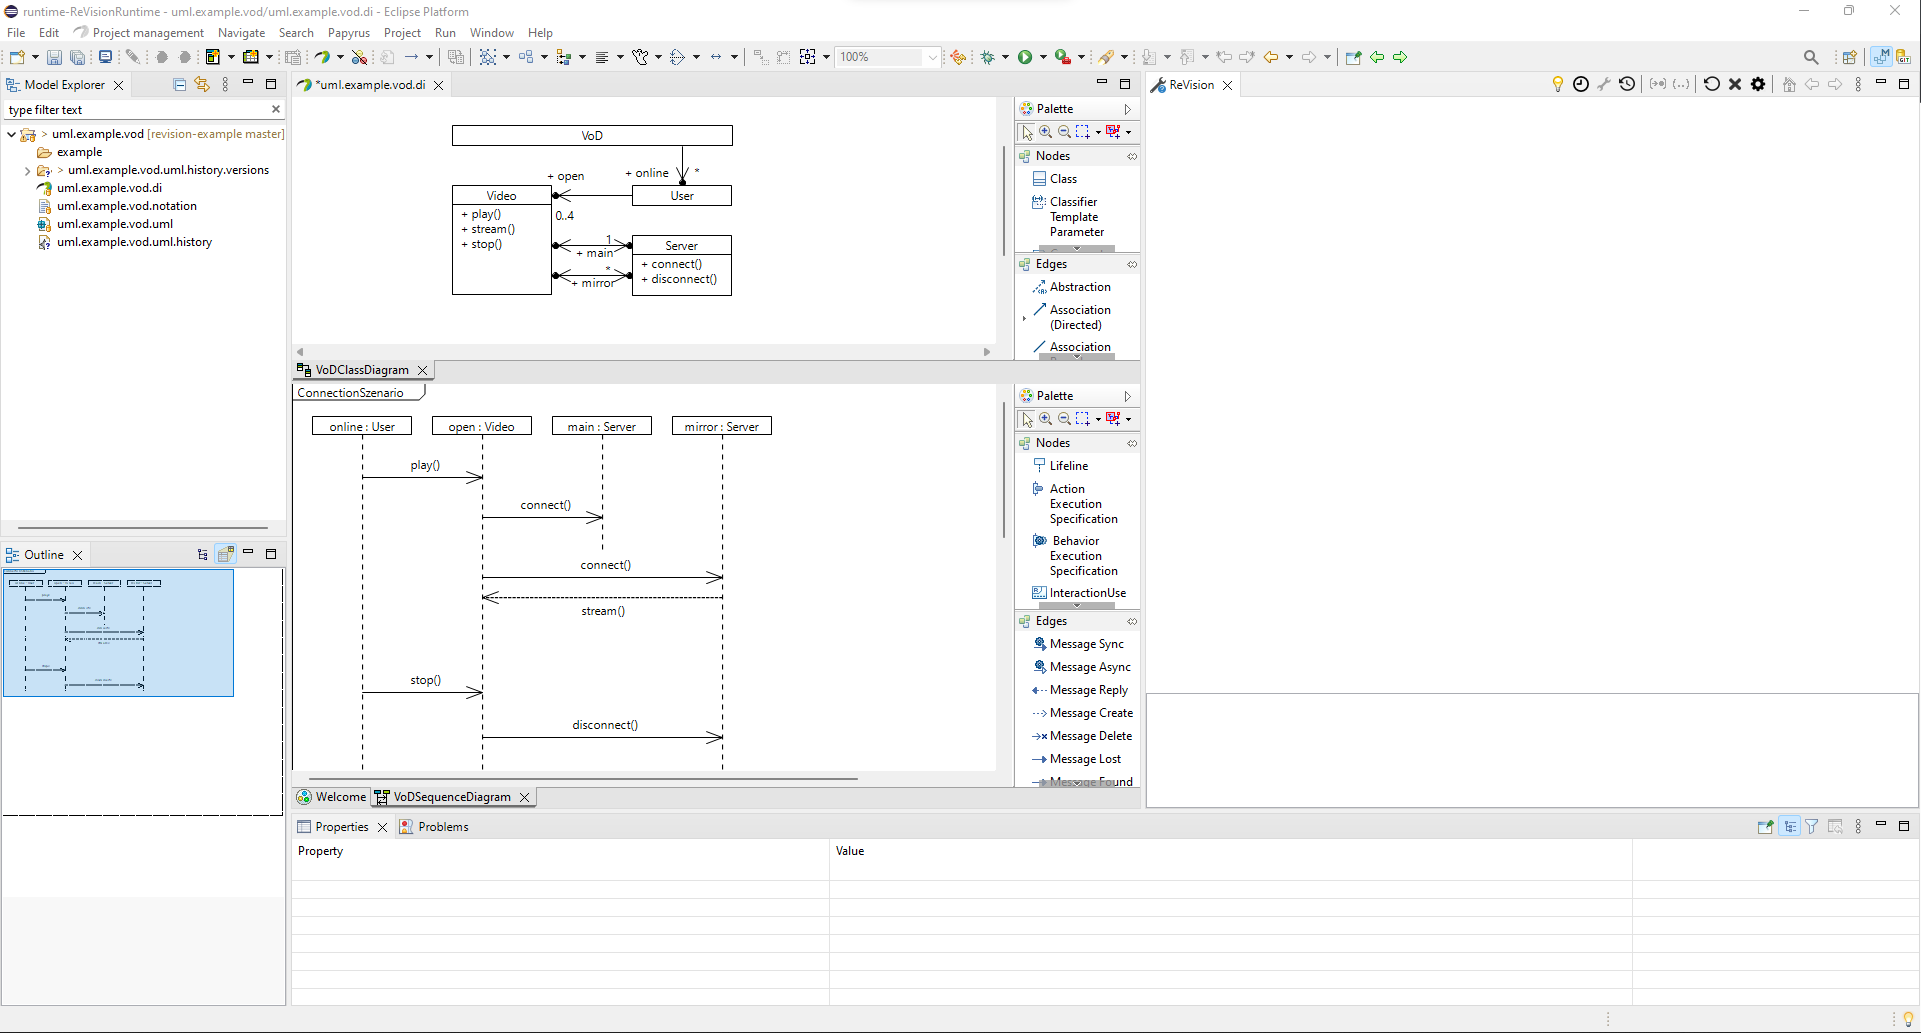
Congratulations, the inconsistency between the class and sequence diagram is fixed!